My clipper configuration for the ender 2 pro
- Ender 2 Pro (Purchased December 2021)
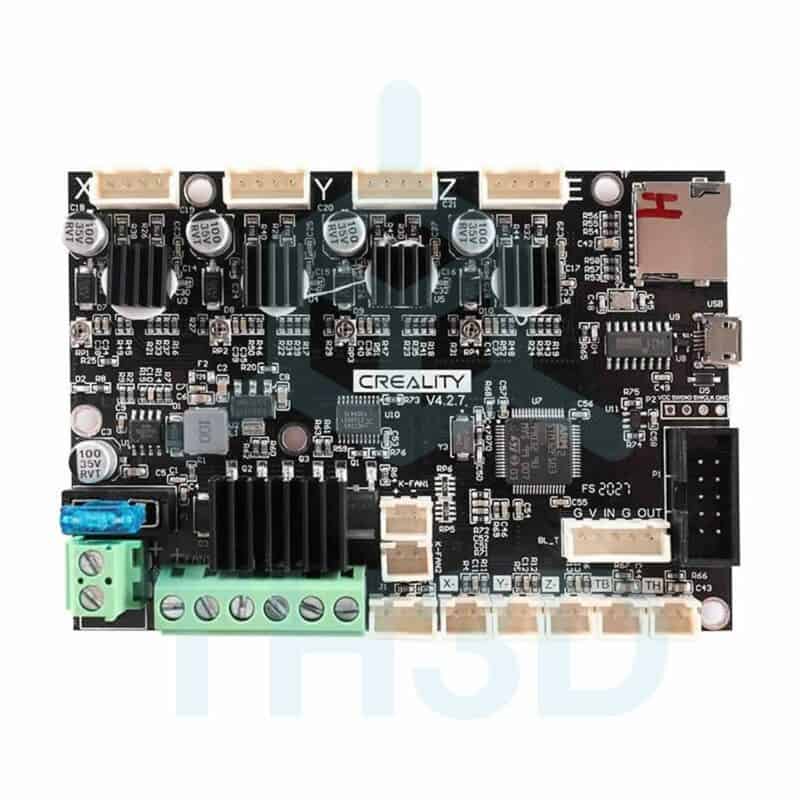
- Creality Silent board v4.2.3
- Raspberry Pi Case
- Mosfets on Fans
- LED Bar
- Run out Sensor
- 12v Regulators on fans
- BlTouch

(See RaspberryPi.fzz for schematic)
- https://teachingtechyt.github.io/calibration.html
- https://github.com/AndrewEllis93/Print-Tuning-Guide
Input shaper tools are installed with playbooks/input_shaper.yaml. The playbook can be called with the makefile shortcut make input_shaper
Files are copied from the host back to this repo


Recomended shaper settings are printed out with ansible
TASK [Print Calibrate Y] **********************************************************************************************************************
ok: [ender2pro.local] => {
    "msg": [
        "Fitted shaper 'zv' frequency = 103.0 Hz (vibrations = 19.0%, smoothing ~= 0.020)",
        "To avoid too much smoothing with 'zv', suggested max_accel <= 41300 mm/sec^2",
        "Fitted shaper 'mzv' frequency = 62.8 Hz (vibrations = 4.9%, smoothing ~= 0.052)",
        "To avoid too much smoothing with 'mzv', suggested max_accel <= 11600 mm/sec^2",
        "Fitted shaper 'ei' frequency = 88.4 Hz (vibrations = 6.1%, smoothing ~= 0.042)",
        "To avoid too much smoothing with 'ei', suggested max_accel <= 14600 mm/sec^2",
        "Fitted shaper '2hump_ei' frequency = 78.2 Hz (vibrations = 0.9%, smoothing ~= 0.088)",
        "To avoid too much smoothing with '2hump_ei', suggested max_accel <= 6800 mm/sec^2",
        "Fitted shaper '3hump_ei' frequency = 72.4 Hz (vibrations = 0.0%, smoothing ~= 0.156)",
        "To avoid too much smoothing with '3hump_ei', suggested max_accel <= 3800 mm/sec^2",
        "Recommended shaper is 2hump_ei @ 78.2 Hz"
    ]
}
A BLTouch is installed.
Warning: There are 2 ways to install the BLTouch on a Creality silent board. This assumes using a single 5 pin header instead of separate 2 pin and 3 pin headers. If you don't know the difference, see timestamp 7:24 in this youtube video by teaching tech
##3 Fillament runout sensor
The following part plugs directly into the Pre-srt Port on creality board 4.2.2 / 4.2.3

The following will just work on klipper, assuming you already have a 'pause' and 'resume' macro defined.
As soon as the fillament runs out, it will pause the print. To resume, click the 'resume' macro in the gui
[filament_switch_sensor RunoutSensor]
pause_on_runout: True
switch_pin: !PA4
If you wish to override the runout sensor with your own macro, you can specify it like so
[filament_switch_sensor RunoutSensor]
pause_on_runout: True
switch_pin: !PA4
runout_gcode: PAUSE
insert_gcode: RESUME

Run this command to run a bed mesh calibration, then save it for future use
BED_MESH_CALIBRATE PROFILE=PEI
SAVE_CONFIG
The mesh will then be saved to the printer.cfg. Be sure to copy it back to this repo or changes will be lost
Open the printer.cfg in fluidd/mainsail and look for lines that start with:
#*# <---------------------- SAVE_CONFIG ---------------------->
#*# DO NOT EDIT THIS BLOCK OR BELOW. The contents are auto-generated.
The following settings are for a Creality Silent board v4.2.2
make menuconfig
# SM32F103
# 28KiB bootloader
# Disable usb for communication
make
# Then copy the .bin file off the raspberry pi and put it on a fresh SD Card.
# The .bin file must be named something unique (and it can't be firmware.bin, or the previous file name)
-
Pinout: https://docs.google.com/spreadsheets/d/1DYhh9fwLnvZzuNvMoBen9Dl68KN-4TWkbO94lJ4iwe4/edit
-
4.2.7 pinout https://all3dp.com/2/klipper-ender-3-v2/
-
4.2.7 pinout https://3dprinting.stackexchange.com/questions/16078/steppers-stuck-with-klipper-but-work-with-marlin
-
4.2.7 klipper config https://github.com/Klipper3d/klipper/pull/3335/files
-
Install on Ender 3 V2 https://www.youtube.com/watch?v=gfZ9Lbyh8qU
-
Klipper Support https://github.com/spuder/klipper/pull/1/files
To setup the OS
- Download FluidPI: https://github.com/fluidd-core/FluiddPI
- Download Raspbery Pi imageer https://www.raspberrypi.com/software/
- Press cmd+shift+x to get advanced settings.
- Change the hostname to
ender2pro(or whatever you want. It must match ansible inventory file) - Use ansible/make to configure
klipper config file is located at /home/{{ user }}/klipper_config/printer.cfg
This repo contains an ansible playbook that will copy the local printer.cfg to the printer and restart the klipper service if it changes.
To use
- Modify
inventoryto point at your raspberry pi - Run the following ansible commands (Or use the make shortcuts)
Setup ssh keys
ssh-copy-id -i ~/.ssh/id_rsa.pub [email protected]
ansible-playbook --check playbook.yaml
ansible-playbook -i inventory playbook.yaml -c paramiko --ask-pass
For best results, use the default user 'pi'. If you change it, you will need to manually update all the init scripts since they are hard coded to /home/pi/*

make klipper    # run just the klipper playbook (default)
make moonraker  # run just the moonraker playbook
make webcam     # run just the webcam playbook
make all        # run all playbooks
make            # runs default (in this case klipper)
Then navigate to http://ender2pro.local/#/ and enjoy
If using the UART cable instead of the USB cable, you need to run additional steps
- Recompile klipper firmware to use UART not USB
- Install the klipper_mcu init script
- run
make flashand select linux process - Restart klipper